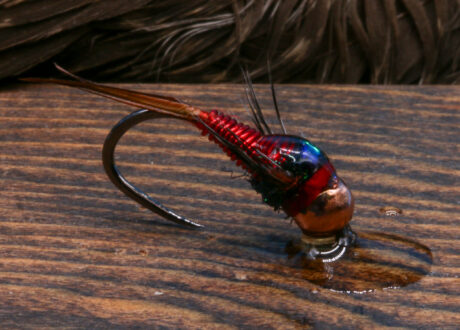
One of the most iconic and recognized fly patterns ever, the Copper John is an effective pattern in various watersheds, conditions, and seasons.
Mr. John Barr designed this fly pattern to create a heavy anchor fly that looks buggy, all while sinking fast and keeping the smaller, lighter nymph, or nymphs in the zone. Hello to the Copper John. He went through several variations before settling on the particular design we see in fly bins today.
This variation has some subtle differences but is made in the same essence. We used dubbin instead of peacock herl, making it more durable. We also did not use the thin skin with the flash. Like all patterns, you can alter and substitute for your heart’s desire.
This segment of Fly Tying is provided by Mossy’s Fly Shop, serving Alaskan’s since 2010. If you’re traveling to Alaska for a Fly Fishing adventure and. you need fly fishing rods, reels, lines, tips, flies, hooks, boots, waders, etc., to complete your Alaskan Fly fishing adventure or simply got questions? They have answers. Stop by and See Mike and Brian at Mossy’s Fly Shop in Anchorage. Email mbrown@mossysflyshop.com or call (907) 770-2666. www.mossysflyshop.com.

Materials:
- Hook: Fire Hole 633 Sz 10 (this fly can be tied in sz 18-10)
- Beadhead: Firehole Tungsten 3/16 Copper
- Weight: .015 Lead Wire
- Tail: Goose Biots
- Abdomen: Ultra Wire Medium Red (You can use all kinds of colors)
- Wing Case: Pearl Flashabou
- Thorax: Peacock Black Ice Dub (originally Peacock Herl is used)
- Legs: Mottled Brown Hen Back
- Thread: Veevus V70 Red
- Epoxy: Loon UV Thin or Flow
Step 1. Slide the bead on and place the hook in the vice. Using your lead wire, wrap the hook’s shank, appx 15 turns. Push the wire inside the bead-head and tie down the lead wire.
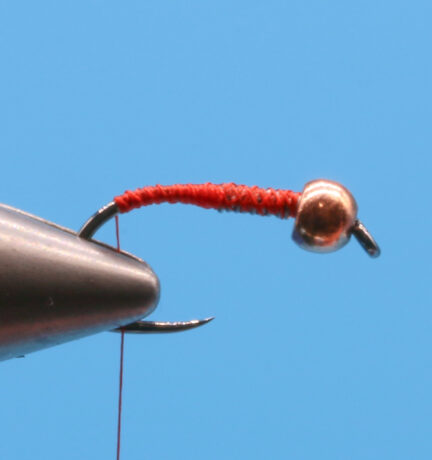
Step 2. Tie in your goose biots for the tail and secure it down.
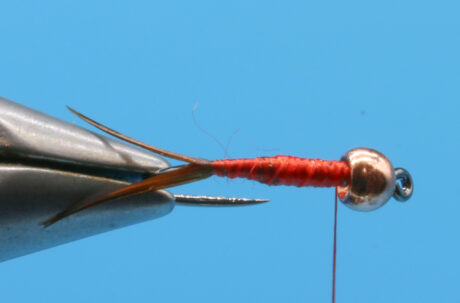
Step 3. Tie in your ultra wire on the top of the hook shank. Push the wire inside the bead head between the lead wire and the ultra wire inside the bead head so the bead is not loose.
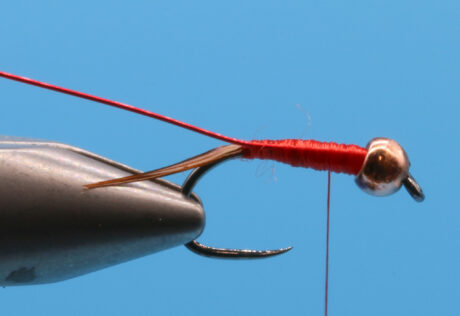
Step 4. Using counter wrapping turns, wrap the wire forward. As you wrap, pull the wire back towards the previous wrap to help make the wraps tight and well stacked. Wrap up 2/3rds of the shank towards the beadhead and tie off. Cut excess wire off.
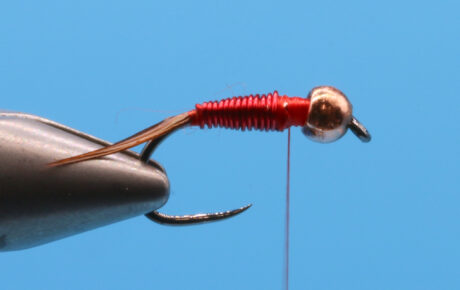
Step 5. Tie in your flash (and thin skin if used) to the top of the shank.
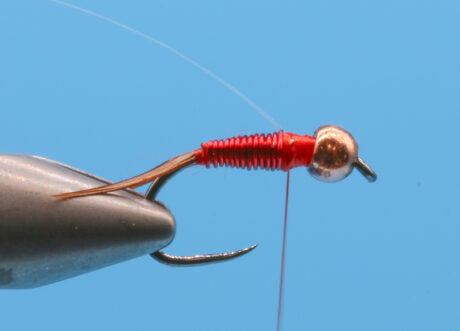
Step 6: Using a small amount of dubbing, wrap the thorax.
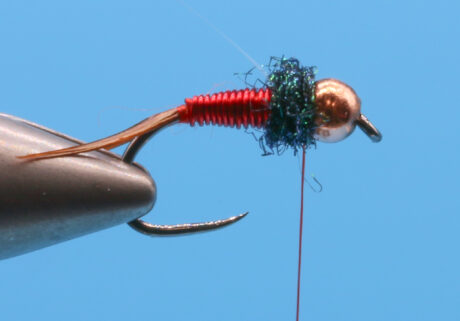
Step 7: Using a small clump of hen back feathers, tie in on each side of the thorax. You want the wings to extend back to the back of the abdomen.
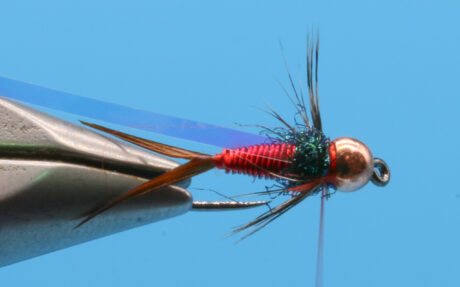
Step 8: Pull your flash over the top, tight, and tie it down. Trip off excess. Whip finish.
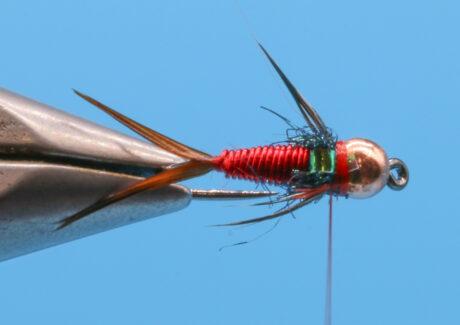
Step 9: Using the UV epoxy, build a small bubble over the top of the flash and cure. This is best accomplished by building up small amounts at a time.
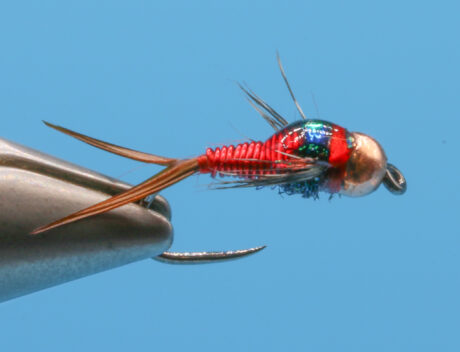
Completed Fly:
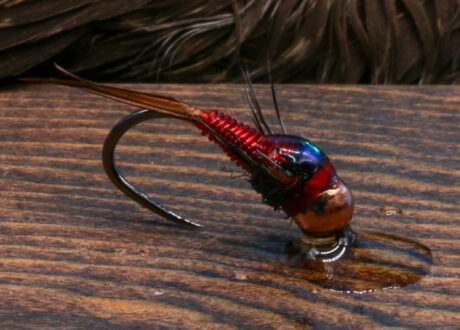
Other Flies to Tie:
Leave a Reply