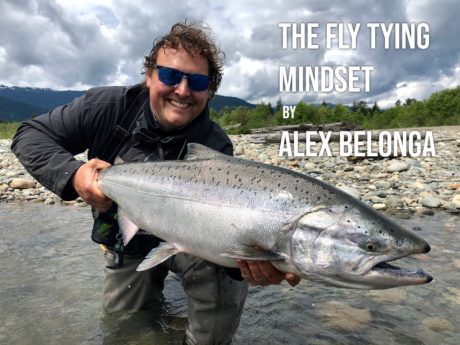
Alex Belonga with Straits On the Fly, Custom Flies, and contributor to Deneki Outdoors gives us some insight and things to consider when tying flies.
Alex started tying flies after he received a fly tying vise for his birthday. Since then, he’s been all in. After posting some of his work online, He’s been noticed and started receiving requests for customer flies. Naturally, it became a hustle, and Straits On The Fly, Custom Flies, was born. Alex’s flies are well thought out, creative, and most importantly, super fishy.
Most days, Alex specializes in horticulture as a Garden Center and Flower Shop owner and operator. In addition, Alex is blessed with a wife, three daughters, and a young son that keep him on his toes.
If you’d like to see more of his flies or want to inquire about custom flies, you can find him on Instagram- @straitsonthefly_customflies or on Facebook- @Yooperfly.
Thanks, Alex.
As I sit here writing this, I’m currently on a quick vacation with my wife in Florida, wishing I had a travel vice just to spin up a bug! Fly tying is one of my favorite passions. It is just something I look forward to every day. Every time I get to the vice, that same feeling of joy and excitement runs through me-much the same way as when I tied my first fly! I sincerely hope that never changes.
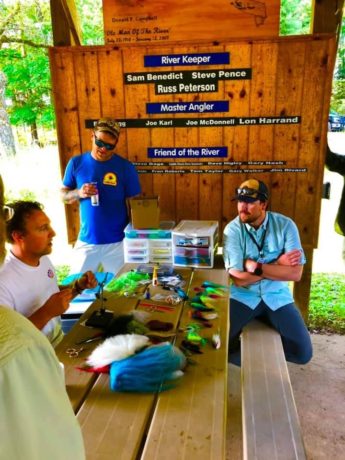
If a person is really bit by the bug of fly tying, it becomes a passion of its own. You reach a point in which you leave the more industrious mindset behind and turn to the art of tying; therein lies the joy! I imagine every time Bob Ross stepped up to a blank canvass and a whole world awaited him. The only restraint was his imagination; a pleasure and excitement must have surged through him! At the risk of sounding philosophical, that is what fly tying has always been to me: a blank canvas to create a piece of art that you can cast on a fly rod (and ideally catch a fish ).
Now, to the nitty-gritty
I do believe there are some practical principles that can help any fly tier become better at their craft. This will result in tying better flies and enjoying the entire process from creation, to cast, to catch.
I remember clearly reading through Bob Veverka’s book: ‘Spey flies and how to tie them.’ In that book is a saying that has stuck with me: “Mindset is key.” He was referring to having a difficult time setting your wings, and he said that the best thing to do is to walk away and come back when you have a better mindset. Often times everything would work out much better.
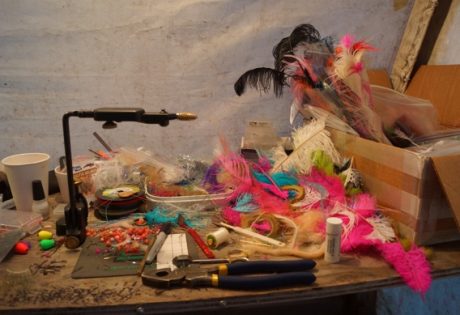
Mindset is very important. It’s hard to talk about fly-tying without referring to the state-of-mind of the fly tier. As with most things, a relaxed and comfortable attitude is critical. Along with that, I’ve discovered there are basically 3 mindsets or goals with which a fly tier will come to the bench:
- following a recipe
- creative/experimental
- production tying
I put those in a specific order because that is the natural evolution of a fly tier from when they begin tying to when they become experienced tiers. It’s important to know your goal and what you are trying to accomplish on the bench. You may begin with a goal of production and find yourself in a creative mood so the goals begin to blend, and that’s great! All 3 minds-sets have their place, and you may even blend them when you tie, but focusing on what you are trying to accomplish is important.
- Following a recipe is where we all start, and it’s what we all do when we want to learn new tricks and styles. It’s extremely helpful and allows us to learn new things.
- Being creative is simply fun! You find yourself just wanting to try new materials and/or you have a random idea you want to try. This helps to really break the ‘writers-block’ so to speak, and discover what you like and dislike.
- Production tying is a term that is usually referred to professionals or tying for a business. However, the everyday fly fisherman often employs this technique when tying the same pattern several times for a few days (maybe just to fill up your box). This style allows you to really get a grasp on the craft and develop consistency in your tying. Not only does this create a solid pattern time and time again, but it also allows you to really discover if a certain pattern is effective and if you truly like it.
I say all this to bring home one point: know where you are and what you are trying to accomplish! Also, if you find yourself in a slump, ask yourself what one of these mindsets you spend the most time in and which ones you spend the least. If you challenge yourself to spend time in mindsets you don’t normally explore, you’ll find that you will give yourself the chance to expand your creativity and ability.
So now to the actual tying!
I would simply say, the best way to approach tying a fly is to have a plan. What do I mean by that? Very simply, I ask myself a few questions:
- What type of water am I fishing?
- What kind of line system do I want to use?
- What am I trying to create and/or imitate?
- Why am I using this material?
Question 1, Water type:
Depending on if the water is low and clear, fast & clear, low and dirty, or high and stained, will dictate what I want to tie up. Small sparse flies either unweighted or on weighted tubes work excellent on clear river systems! If the water is really big and fast, yet still very clear, I like a weighted tube yet still sparse. This allows me to use a full float set-up and still get down. Tying flies specific to your water systems will not only help you understand material selection, but it will also help you dial in your craft as you tie multiple flies with similar attributes.
Question 2, Line System:
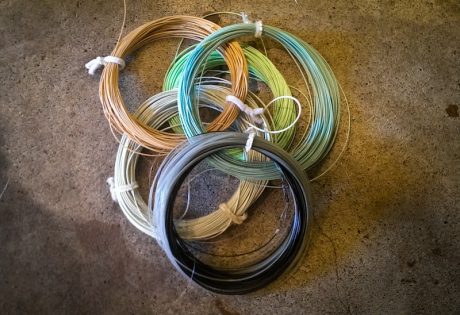
To put it bluntly, you are not going to cast large intruders or large leech patterns on your Scandi line, it just doesn’t work. So there is no point in tying flies you can’t cast. Even though most of us have multiple line systems and an array of sink tips, tying your flies to be effortless to cast on a given line system will teach you the discipline of using only the necessary amount of material to create the profile you are after. And it may even encourage some creative thinking in how to achieve greater profiles by subbing other materials. Having a plan to match your flies to your line system will help your fly tying skill set immensely.
Question 3, What am I trying to tie?:
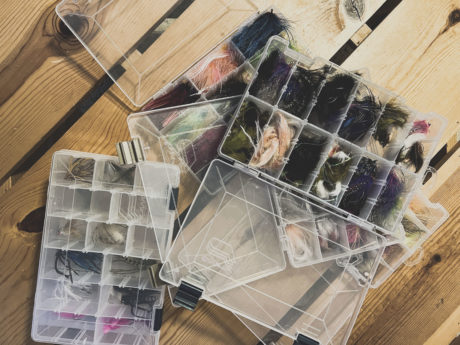
I think it’s important to decide what you want to tie before you begin laying the thread down. It’s no problem if that design begins to change as you are tying it, and decide it would look better with different materials than what you had envisioned. But, when you start to focus on what it is you want to do vs. just slapping stuff together, you’ll begin to get a much better handle on which materials are best for a given pattern or which you prefer. This builds confidence
Question 4, Why am I using this?:
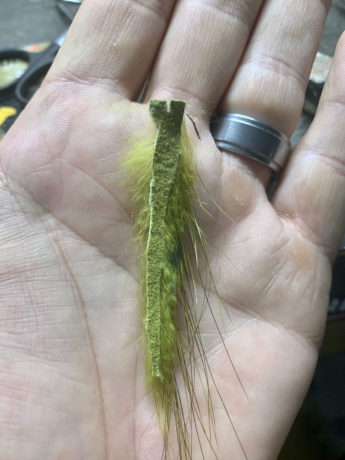
This one sounds silly, but maybe is the most important! Don’t just tie in material because you need to fill space or because it looks cool. Instead, ask yourself, “what will this accomplish or achieve?” You’ll begin treating each material, including flash, as an integral component to your creation, and as a result, you’ll notice your flies will begin to look much cleaner and nicer, and even more importantly…….swim better!!! Because ultimately, the litmus test is how it functions in the water and if fish like it!
Quick tip for beginners or new to fly tying:
Don’t buy cheap tools and a cheap vise! It doesn’t have to be the most expensive, but get something good. You’ll be very happy you did this.
Pick two or three patterns that you like, and you know are effective in your local streams. Get the material to tie those in just a couple of colors. This will ensure you don’t buy a bunch of material you may or may not need, and it will help you focus on tying consistently.
My top 3 picks for patterns to learn:
- Hoh Bo Spey – click to find instructions
- Wooly bugger – click to find instructions
- Leech pattern – click to find instructions
I hope this helps a few tyers out there, and I’ll reiterate that these are my opinions or discoveries I’ve made for myself over the last couple of years. You can pick and choose which ones help you or make sense for you!
So here is a fly I created. Let’s walk through the steps briefly:
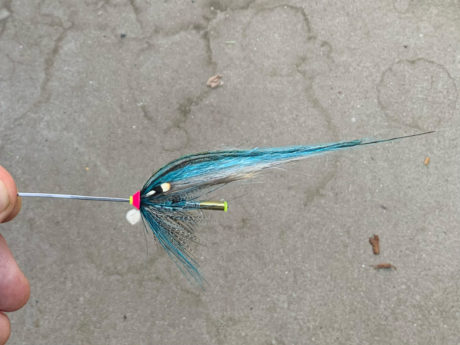
1. Mindset/Goal- I’m tying up some patterns for some friends of mine and myself for this summer. That would put me in a production tying / creative tying mindset. That means, I’m not just slapping stuff together to see what happens, but have a pattern in mind I want to replicate.
2. Which species?- Steelhead.
3. What are the conditions of the river at that time? it’s a very large and powerful water system! The water is insanely clear, there will be plenty of sunshine, and the fish can get quite pressured. Some spots are quite deep, some shallow.
4. Line system- Because of the conditions above; super clear water, very powerful water, cold water temps, very fresh fish, and possibly pressure, I want to go full float with a long leader or a very very light tip.
THE FLY:
For me, this is as large as I will go, and will tie several much smaller and sparser. A sparse temple dog on a brass tube allows me to get deep enough for these conditions, without a big sink tip. Extending the leader will give stealth as well. I could easily add a sink tip though if conditions call for it and still keep the leader long. Grey/blue colors are excellent for clear water and imitate natural baitfish quite well!
Temple dog style fly? The wings become fluid and swim more vs. the ‘wiggly’ action of an intruder. Our fish see squid, shrimp, and other various ocean forage. The Great Lakes fish diet consists more of baitfish and bugs. Hair wing flies such as a temple dog give a nice profile while generally fishing much smaller than they appear.
Why the pink cone? I have found that the grey/blue/ and a hint of pink works quite well on rainbow trout in general. I don’t know if it’s cannabilism or simply something familiar they see and aren’t startled by? Whichever the case, It gives me confidence!
Flies Instructions by Alex:
Leave a Reply