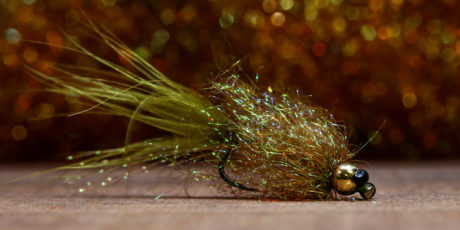
The Balanced Damsel, is a favorite fly among fly anglers who enjoy lake fishing for trout. When fished under an indicator or stripped in water columns with a sinking line, the Balanced Damsel is one attractive fly. Lake fishing is very underrated. There are plenty of fishing opportunities as winter releases her tight grasp. Damsels are often found in and around weed beds. Balanced Damsels make it easier to navigate those areas and the counterbalanced fly will suspend and level giving it fantastic action while being stripped. The Balanced Damsel fly works in any stillwater situation that has trout in it and can account for a bunch of fish.
Tie, Instruction, and Photos By Mike Brown. Mike Brown is the owner of Mossy’s Fly Shop, in Anchorage, Alaska. On Instagram, @mossysflyshop.
Material List:
- Balance Pin: Sz 14 Beading Pin (Mossy’s Stocks them in 20 paks)
- Thread: Veevus 8/0 Olive
- Mono Eyes: Small Black Mono Eyes
- Beadhead: 3/16 Gold Beadhead
- Hook: Firehole 516 Sz 8
- Flash: Pearl Krystal Flash
- Tail: 6-8 Individual Marabou tips
- Under Body Flash: Large Veevus Pearl Tinsel
- Body: Ice Dub Golden Brown and Ice Dub Rusty Brown Blended
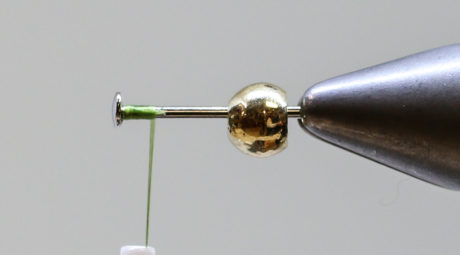
Step 1. Cut your beading pin down, typically I cut mine in half. Slide your beadhead on and place it in the vice. Start your thread against the flange.
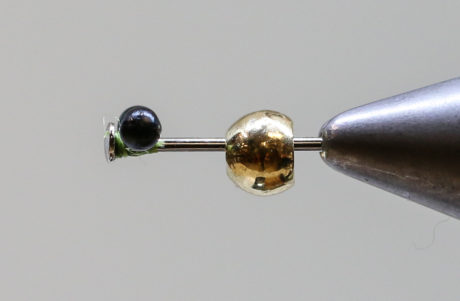
Step 2. Tie in your eyes. Here I used a premade small mono eye, you can also make your eyes out of 30 mono by burning the ends. Use figure 8 wraps and secure the eyes in good. Whip finish.
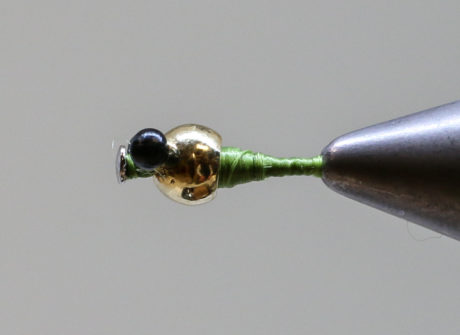
Step 3. Slide your beadhead against the eyes and restart your thread. Build up your thread to help keep the beadhead in place. Whip finish.
Step 4. Place your jig hook in your vice and rotate upside down, start your thread.
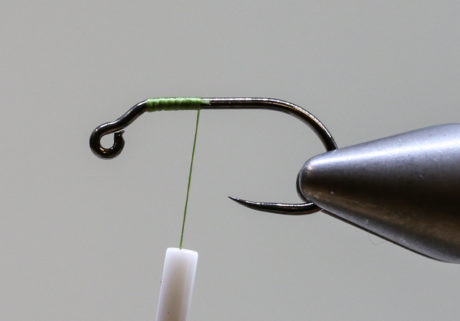
Step 5. Place your beading pin on the shank and tie it down, you will want to put enough wraps to hold it in place so you can check balance before securing well. Put a few whip finishes and remove your thread.
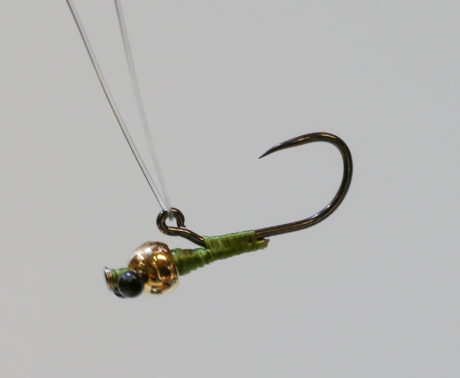
Step 6. Pull the hook from your vice and use a piece of mono to check you balance. You want the fly to suspend level or maybe a slight slope to the front. If it is not balanced, you will need to repeat step 5 and recheck.
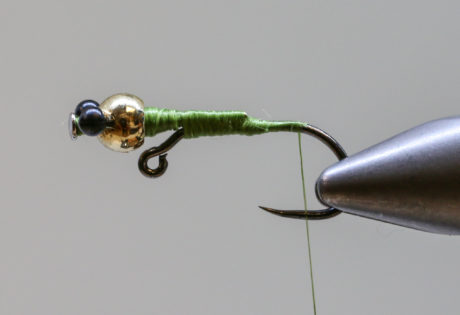
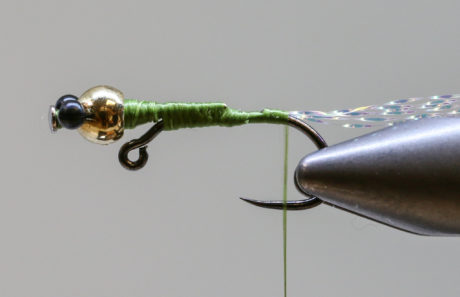
Step 7. Replace the hook in the vice and secure beading pin down well. A little glue at this point is not a bad thing.
Step 8. Tie in a few strands of krystal flash to the top of the shank. You will trim the flash after you place the tail.
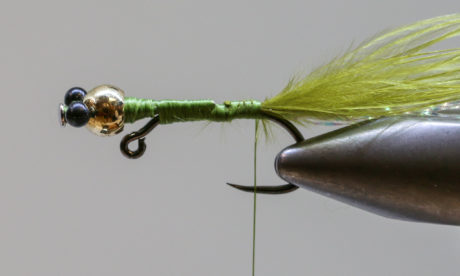
Step 9. Use 6-8 strands of marabou, tie them in. You want you tail to be the length of the fly. Trim your flash to match their length. Tie the marabou down to the back of the pin, this will help level out the body.
Step 10. Tie in your tinsel, then create a dubbing loop and pull back out of your way. Run your thread to the bend in the jig.
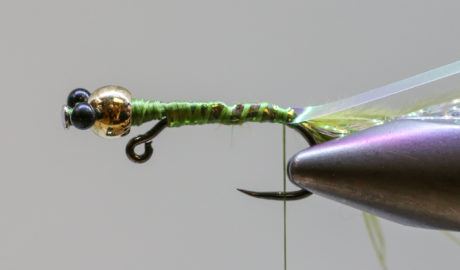
Step 11. Wrap your tinsel forward, we use the large tinsel so that you can cover half of the previous wrap, this makes for a stringer body. Tie off and trim.
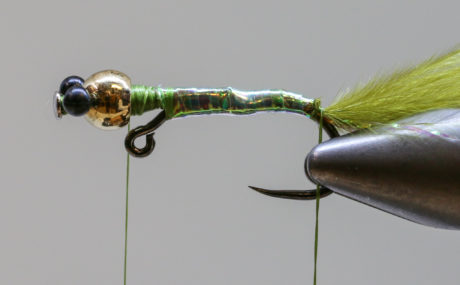
Step 12. Blend your two dubbings together, you can blend them to the color you desire, and place in the dubbing loop. You can trim your dubbing to your desired length at this point (Note: I should have trimmed this fly down a little more than I did).
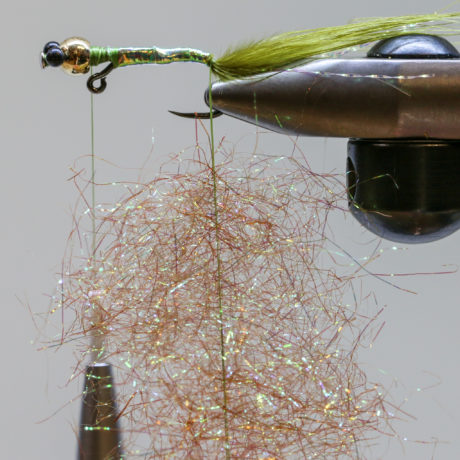
Step 13. Spin your dubbing up. Brush and pick out all trapped fibers, you should have a small tight center core when done.

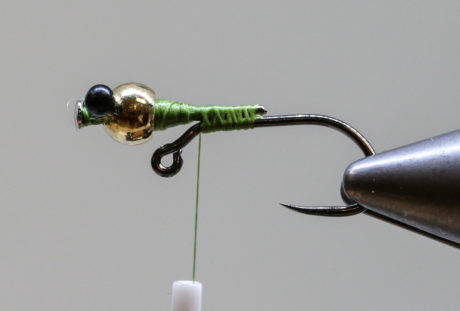
Step 14. Palmer your dubbing loop forward, you want to see segments of your pearl underbody showing. Once you get to the jig, wrap the remaining turns all the way to the beadhead. Secure and whip finish.
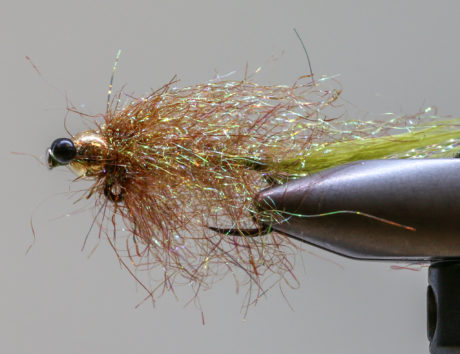
Completed Fly:
Other Flies To Tie:
Leave a Reply