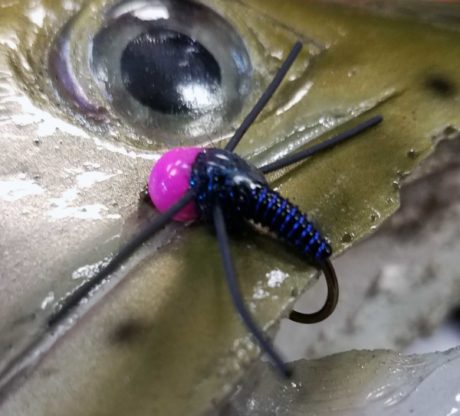
The Jumbo John originated on the vise of Mr. John Barr, the mind behind the world-famous Copper John nymph. It didn’t take long for creative steelheaders to succeed with the Copper John. With steelhead in mind, Mr. Barr got creative and design a Copper John Style fly that was bigger and heavier, and that brings us to the Jumbo John. Mr. Barr’s original flies were tied in black/copper, copper/brown, and ginger/black, it has since been reproduced in various color combinations and styles.
The Jumbo John is an uber-effective nymph for spring steelhead in Alaska.
The Jumbo John is an effective nymph for spring steelhead in Alaska. The nice thing about this fly is you can get creative and tie it in a variety of colors and body materials to make it more interesting. That being said simple is best. You can fish the Jumbo John, with various techniques; from traditional nymphing to swinging it on a sink tip. While both methods work, adapt your presentation style to the type of water you’re fishing.
Originator: John Barr
Tie, Instructions, and Photos by Mike Brown. Mike Brown is the owner of Mossy’s Fly Shop in Anchorage, Alaska. A lifelong Alaskan with a passion for family, fly fishing and fly tying.
Material List:
- Hook: Daiichi 1120 Sz 6
- Bead: 7/32 Plummeting Tung Bead Hot Pink/Fushia
- Body: Medium Black Vinyl V Rib & Medium Blue Ultra Wire
- Thorax: Senyo’s Fusion Dub Midnight
- Wing Casing: UV Chewee Skin Pearl
- Legs: Medium Round Rubber Legs Black
- Thread: Veevus 8/0 Black
Step 1. Slide your 7/32 tungsten bead head onto the hook and place it in the vice.
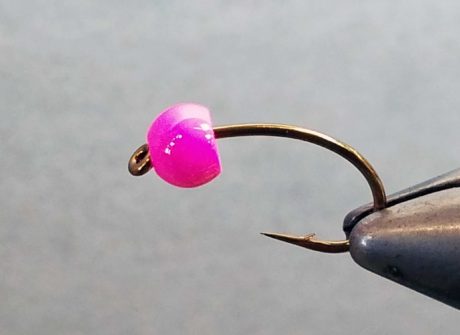
Step 2. Start your thread behind the bead and wrap down well into the bend of the hook. Attach your wire and tie in. I like to have the wire go all the way to the thorax to help build a body.
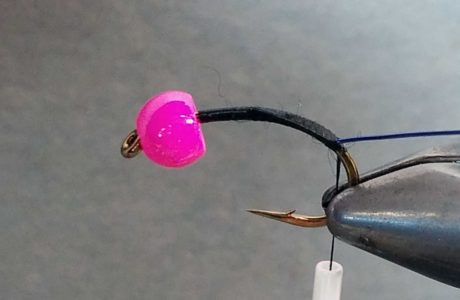
Step 3. Tie in your v rib follow the same directions as with the wire.
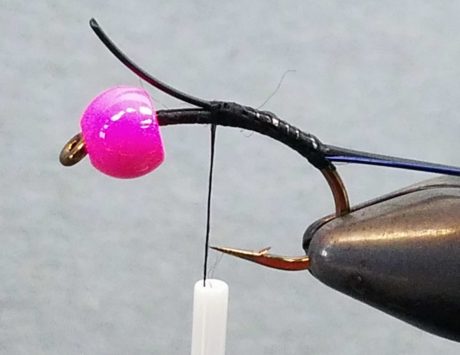
Step 4. Using your thread build a nice nymph body taper, wider and deeper near the thorax tapering down.
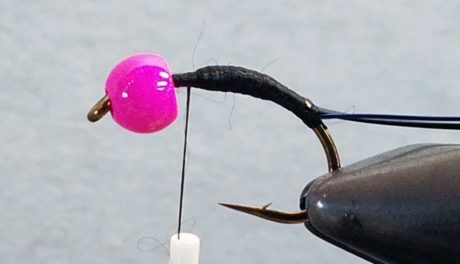
Step 5. Wrap your v-rib forward, making sure each wrap touches. Wrap up the shank to appx one hook eye width in front of the hook point.
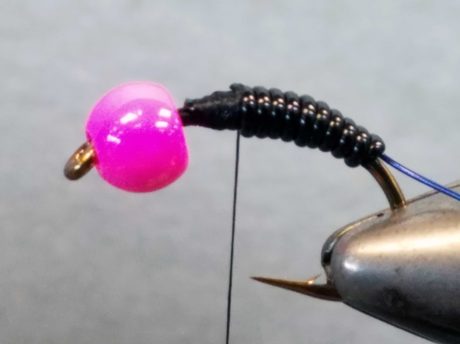
Step 6. Take your wire and palmer forward, laying each turn in between the touching v-rib.
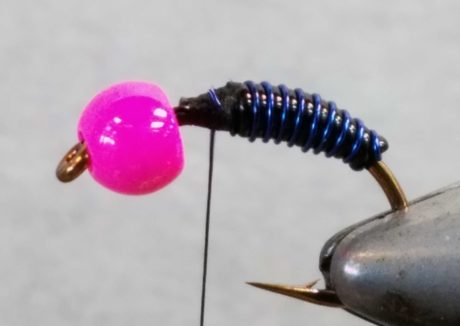
Step 7. Tie in a 3/16” to ¼” strip of your UV Chewee skin for your wing casing. If you are a little too wide, this material can be pulled tight to make it narrow.
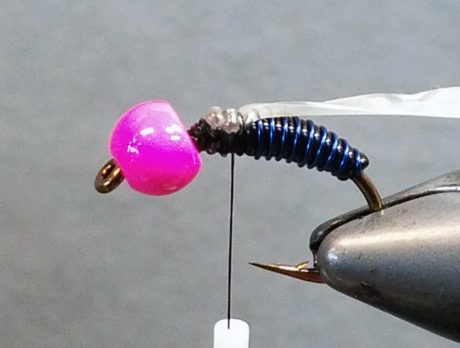
Step 8. Tie in your rubber legs. Fold your leg in half over the thread and slide it into place. Place the legs in the middle of the thorax opening—centered with the side of the hook shank.
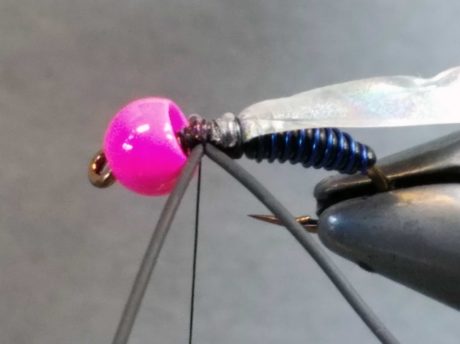
Step 9. Repeat Step 8 for the other side.
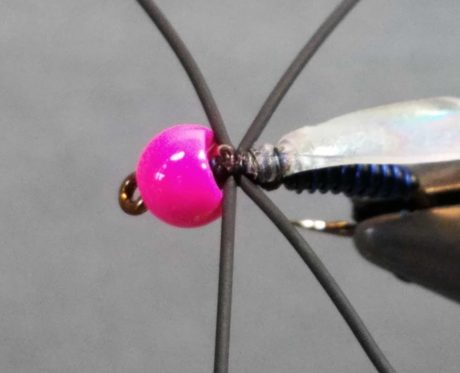
Step 10. Moving your thread back to the base of your wing casing, start your dubbing thorax. Using small amounts and building a good body. Wrap behind the legs, then move forward between them and in front of them right up to the bead. You want the thorax to be a little bigger than the body.
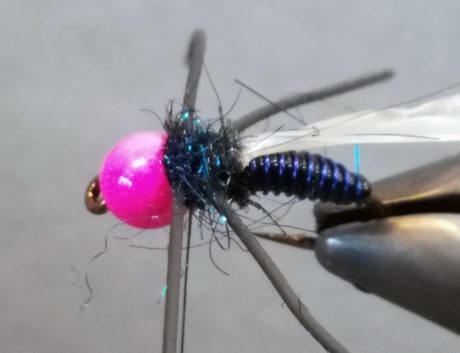
Step 11. Pull your Chewee skin over the top of your thorax and pull snug. This creates the wing casing. Tie off tight against the bead and whip finish.
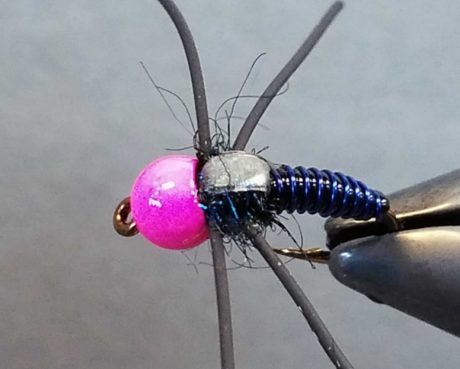
Step 12. Using your thin UV resin, cover your wing case. I like to cover up onto the backside of the bead, making a nice bubble. Cure with UV light.
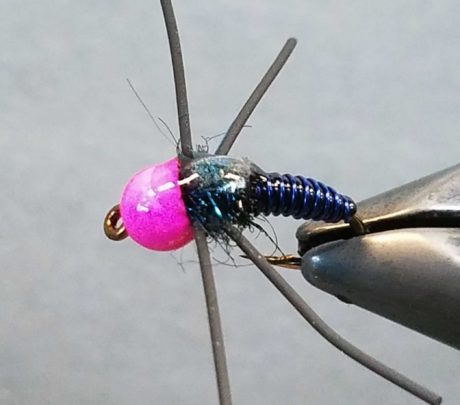
Completed Fly.

Other Fly Tying Posts:
Leave a Reply