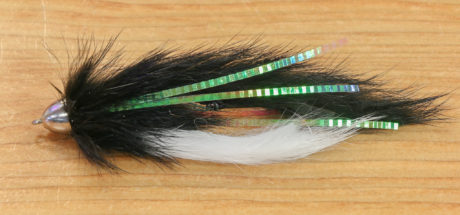
They say, “imitation is the best form of flattery.” There are a bunch of variations of the Dolly Llama demonstrated, but none exactly like the original. That being said, even this tie instruction is ever so slightly different.
The Dolly Llama has taken over the Egg Sucking Leech as Alaska’s “all-around” fly pattern. This pattern is uber effective when it comes to catching fish. I don’t care what species you are fishing for. The Dolly Llama will catch it. It is a heavy, fast sinking fly with a solid profile and lots of movement, perfect for slamming into log jams and pulling toads out of the depths. Tie this pattern in brighter colors for anadromous fish like Salmon and Steelhead. Use natural, trout pattern-colored materials then you have a Trout catching machine.
Originator: Charlie Galt, a fly fishing industry legend.
Instruction, photos, and tied by Mike Brown is the owner of Mossy’s Fly Shop in Anchorage, AK. A lifelong Alaskan with a passion for family, fly fishing, and fly tying.
Material List:
- Hook: Gamakatsu B10s sz 4
- Tail/Body: Black Rabbit Strip
- Shank: Fish Skull Articulated Shank
- Cone: Hareline Alaska Brass Cone
- Articulation Thread: Power Pro 30lb
- Wing: White Rabbit Strip
- Flash: Flashabou Salt Water Flash or Lateral Scale (original pattern used lateral scale)
- Thread: Veevus V140 Black
Step 1. Start your thread behind the hook eye and wrap a nice even body down the hook to the start of the bend. Tie in your rabbit strip, leaving yourself appx a 1/2 “tail. Wrap your thread back to the front.
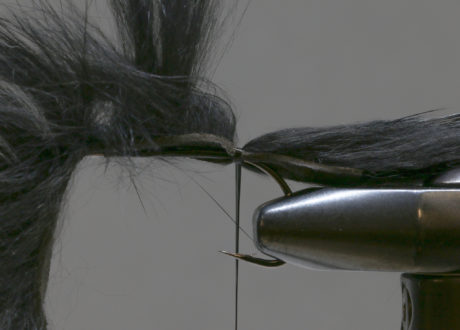
Step 2. Pull your rabbit strip tight to the front of the hook and tie down on the top of the shank. Leave enough room to whip finish under the end of the rabbit. DO NOT cut the rabbit off.
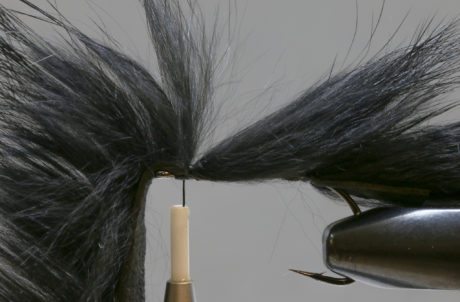
Step 3. Cut yourself 4” of power pro, double it over and loop the rear hook.
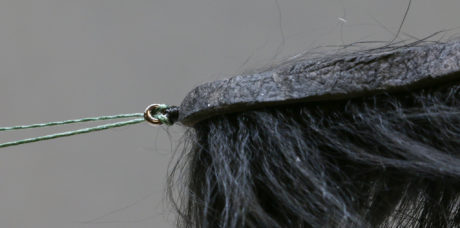
Step 4. Slide your cone onto your shank and place in your vice. Since I have a shank vise, I cut the rear loop off the fish skull articulated shank, if you are going to use the rear loop in the shank, bend the loop open and slide the cone on then close the loop back up. Tie in your power pro, once you have a couple snug wraps, adjust the rear hook to the length you want.
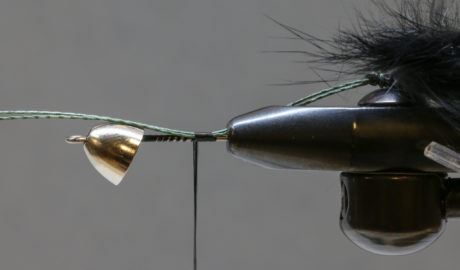
Step 5. Tie down the power pro with good tight wraps, then slide the power pro through the cone and the shank eye and tie it to the boot om of the shank all the way to your starting point.
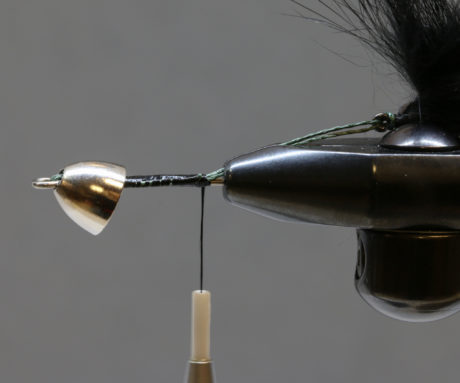
Step 6. Hold the rear hook back tight, pulling your rabbit strip tight tie down to the shank. Put a few wraps over the rabbit and then a few directly to the shank in front of the rabbit and then a couple more over the rabbit. This will lock the rabbit in, so it won’t spin as you wrap it.
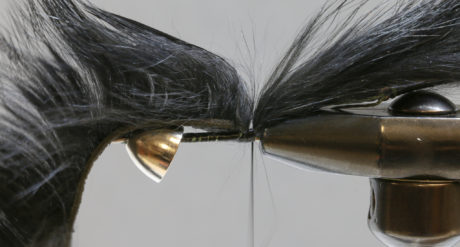
Step 7. Using tight wraps, wrap your rabbit all the way to the cone, put a couple extra turns tight to the cone, this will help tighten the cone up. DO NOT cut the rabbit off yet.

Step 8. Tie in your belly wing, cut it of at the tip of your hook point.
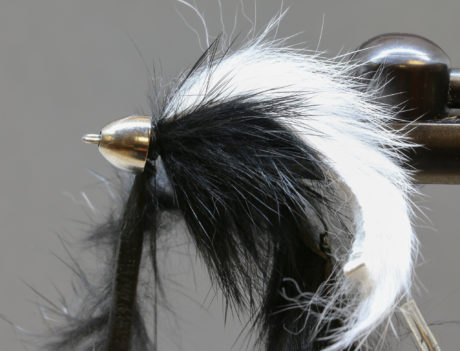
Step 9. Using a full strand of your flash, fold in half over your thread and place on the side and tie down. Repeat this step on the other side. Cut your flash even with the tail.
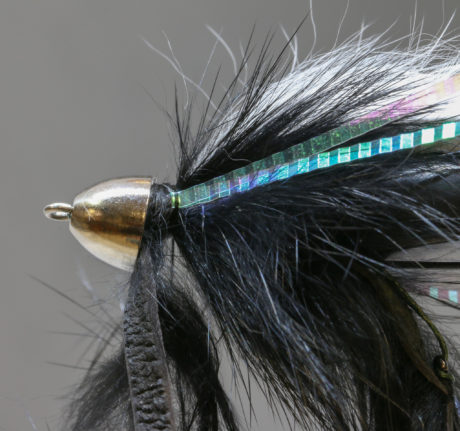
Step 10. Using the rest of your first rabbit strip, make a couple turns tight into the cone. Put a few finishing wraps of thread and pull tight, this will pull the rabbit into the cone. Whip finish.
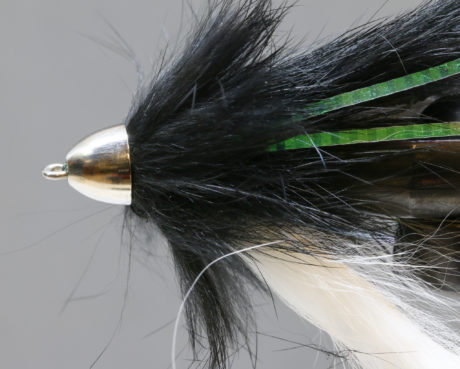
Finished Fly:

Other Tying Instructions and Tips:
I winder how this would work when used for striped bass in Eastern Canada, maybe with a different colouring? Green , OLive or Blue top. White bottom?
Could you send me a printable version of this fly tying instruction that we could use in our club newsletter?
Rick Pay
Washington County (Oregon) Fly Fishers