When it comes to trout, streamer patterns are without a doubt, extremely effective. The best thing about streamers is, they relatively easy to tie, and the color combinations are as vast as the number of colors out there. That being said, a surefire color combination is red and black. Is it a confidence thing? Maybe.
The Impersonator is an inspiration of a few different patterns, The Silveynator, Trevor’s Sculpin, and The Kryptonite Sculpin. All these flies have something that prompted this little jewel of a fly. Although many streamer fly patterns are “large” sometimes smaller is better. Of course, you can tie it bigger.
This fly will produce whether you are into swinging for trout on a trout Spey or wanting to nymph. It is also a great little lake leech as well. The heavy tungsten bead-head gives the fly a lot of drop quickly while adding a lot of up/down motion while stripping. Give this little bug a try. You will not be disappointed.
Tie, Instruction, & Photos By Mike Brown, owner of Mossy’s Fly Shop in Anchorage, Alaska.
Fly Ingredients:
- Hook: Firehole 811 sz 8
- Beadhead: 3/16 Tungsten Beadhead
- Tinsel: Veevus Mini Flat Pearl
- Dubbing: UV Ice Dub Red
- Tail: Straight Cut Rabbit
- Collar: Rabbit Fur
- Thread: Veevus 8/0
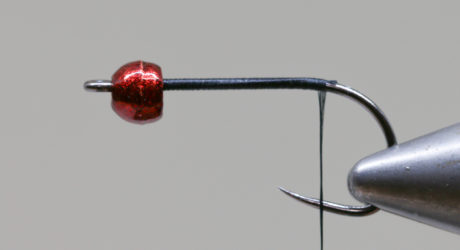
Step 1. Slide your bead-head onto the hook and place it in the vise. Start your thread behind the bead and wrap it back to the start of the bend.
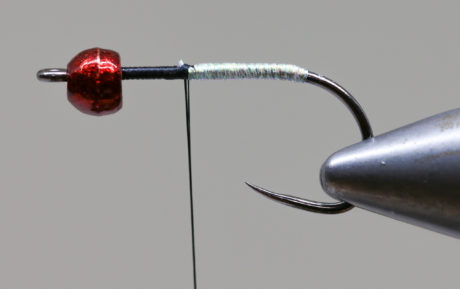
Step 2. Tie in your flat braid and wrap forward to the middle of the shank and tie off, trim.
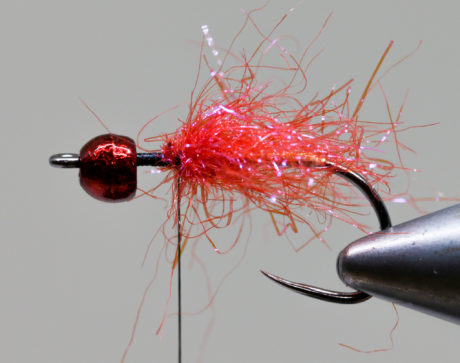
Step 3. Create a dubbing loop. Place your dubbing in the loop and spin. Pick out the material till you create a thin core.
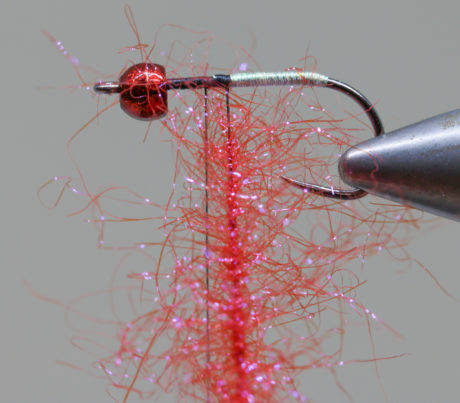
Step 4. Wrap your dubbing, sweeping the material backward with each turn. Create a nice little ball. Brush/pick out the trapped material.
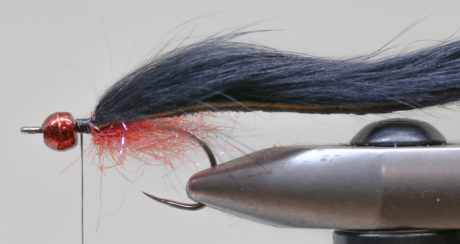
Step 5. Tie in your rabbit strip, placing it over the top of the dubbing ball. Trim your tail appx the length of the hook shank.
Step 6. Create another dubbing loop. Trim a small of fur from the hide and place it in the dubbing loop. Spin and brush out trapped hairs.

Step 7. Wrap your rabbit forward, brushing the hair back with each wrap. Wrap it up tight into the bead-head. Tie off and whip finish.
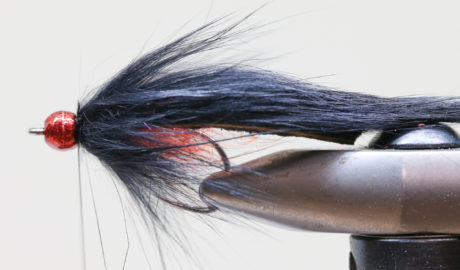
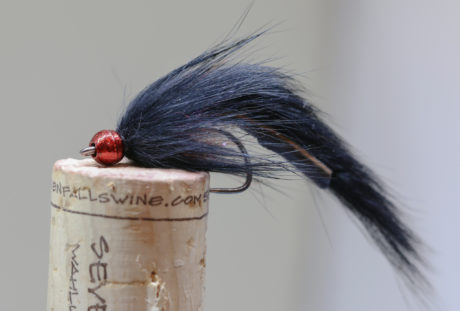
Finished Fly.
Other Fly Trout Patterns:

Leave a Reply