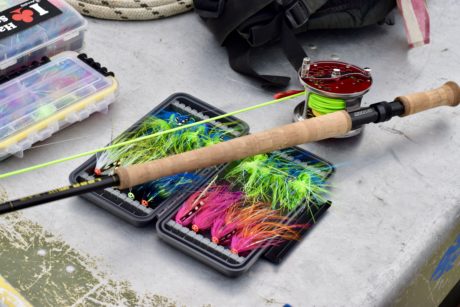
We all love to see a tidy fly box full of beautifully tied flies. The mark of a decent fly tier is how “identical” their flies look when placed together. There are a few tricks we can use to accomplish this, but here’s something that I do that certainly helps with tying flies in a quick manner and making them look like peas in a pod.
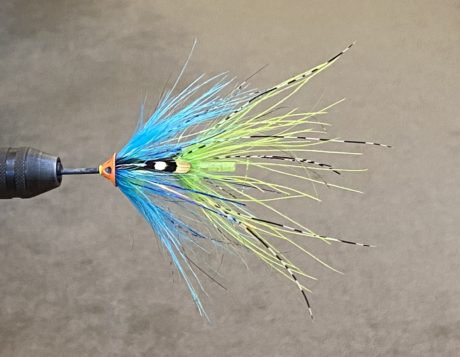
Either pull a fly out that you’ve tied before that you want to copy, or just tie one and make sure that the proportions and density of materials are correct and what you want. Here’s a king intruder that I enjoy using, but this tip works for any style of fly that you may be tying. Now, when tying many of the same flies, most tiers would tie one, then another, then another, and so on. What can sometimes happen when doing this is if we use the last fly we tied for proportions, we can end up with a totally different-looking fly as we progress. A little like Chinese whispers, they will slightly be different, and if you compare your first fly to your last fly, they will be vastly different. To stop this from happening, we can break down the process of tying the flies into “stages.”
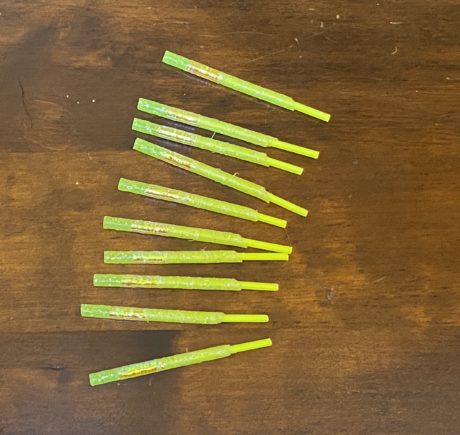
To begin with, I’ve cut my tubes to length, secured the liner with super glue and thread, and added mirage tinsel butts. Having fewer materials on the desk just to do stages of flies like this means there’s less fuss looking for stuff, making life easier and quicker.
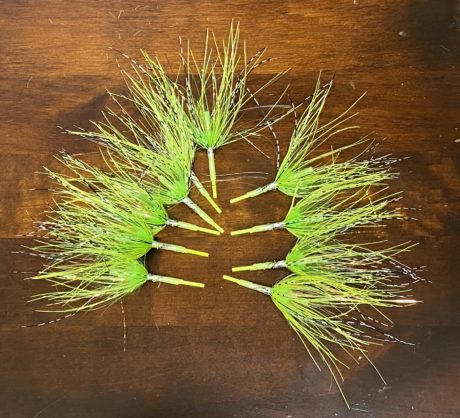
Now I’ve added the rear section of the intruder.
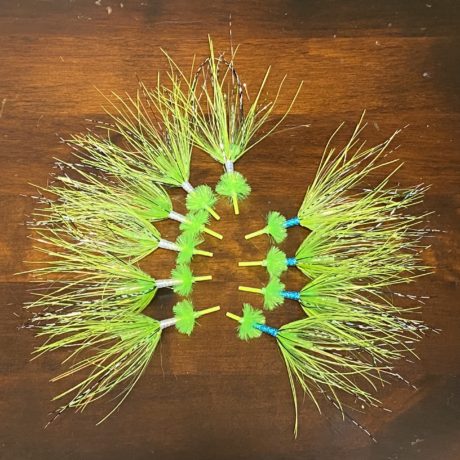
Now I’ve added the body and the fritz ball to get to the front section of the intruder. It’s much easier to control proportions when we do short steps.
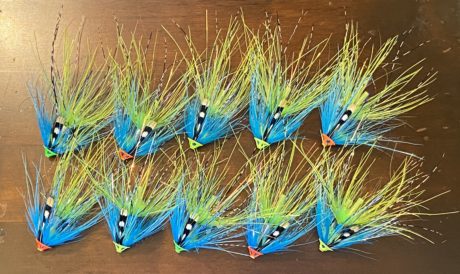
I’ve finished the front section of the intruders now and finished them off. Ok, I know I have some different coloured cones and used two different coloured braids on the body, but I’m sure you’ll agree they are virtually identical in size, shape, profile, and density. Try this little tip on a few flies next time you’re tying and see if your fly quality and speed improve also? Your biggest problem will be keeping your friends from “borrowing” your flies!!!!
All Photos by Stuart Foxall
Other Fly Tying Tips:
I keep a large binder with fly information for each pattern made as Word documents. I started doing this in Word Pad, but switched to Word as this program is more versatile.
Each pattern has name of the fly, a large color photo ( side profile), typically 5″ X 5″, and the fly dressing, beginning at the eye, and applying material in the order they are used to construct the file.
If useful, specific ratios are hand drawn on the page and referenced to hook shank length or hook gap.
On more contemporary flies, the originator of the pattern is also included.
Each fly info sheet is placed in a plastic page protector, and filed in the binder by type; i.e. Atlantic Salmon Wet , Deer Hair Bug/Bomber, etc.
When tying, I take out the page and mount it to a Bulldog clip at my bench.
I then arrange my materials in the needed sequence , and use the pattern instructions to tie the first fly or two. This refreshes my memory for this fly, particularly if it is one I don’t tie very often, or is a custom tie for an order.
I find this is a great help in making each fly look identical to the one next to it.
Hi, Don. That is quite the process. Great effort puts produces great results. Good stuff, Don. Thank you for contributing and reading the blog.