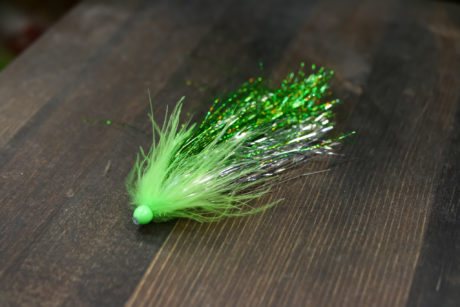
King (Chinook) Salmon are, without a doubt, a favorite game fish among fly anglers. The sheer power and might of these anadromous fish make it a very desirable fish to catch. There are a lot of fly patterns, styles, and colors that will work for Kings. One of the more popular and effective colors in King Salmon fly patterns is Chartreuse.
One of the more effective ways of targeting anadromous fish, especially King Salmon, is plugs. If you examine a plug for King Salmon, the profile, colors, sheen, and flash, you can see why they are very effective. Why not emulate that in a fly pattern?
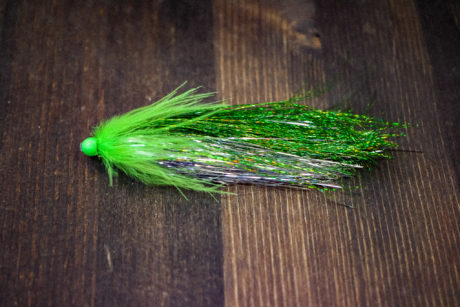
Enter the Prom Dress. Originated by prolific fly angler Scott Howell, the Prom Dress fly embraces the profile, colors, flash of a plugin, an intruder style fly pattern. With lots of movement, a good profile, and flash, the Prom Dress fly is simple and effective for King Salmon and other anadromous fish.
Obviously, you can tie this fly pattern in various colors, so experiment and try different color combinations. This particular fly instruction is a slightly modified version of the original with a conehead and marabou instead of guinea. This fly is tied on a tube, but you can easily translate it to be tied on a shank with a. stinger hook also.
Tie some, experiment, and please show us what you got. We’d love to see it, especially with a fish you hooked.
Originator: Scott Howell
Instruction and Photos by Mike Brown, A lifelong Alaskan with a passion for family, fly fishing and fly tying. Mike Brown is the owner of Mossy’s Fly Shop in Anchorage, Alaska.
Material List:
- Tube: Pro Tube Clear Nano Tube
- Body Wrap: Veevus Mini Flat Braid
- Prop Collar: Fox hair
- Bottom Flash: Silver Flashabou
- Top Flash: Holographic Chartreuse Flash
- Front Color: Chartreuse Marabou
- Bead Head: Pro Tube Medium Bead
- Hook Guide: Pro Tube XL Hook Guide
- Thread: Veevus 140
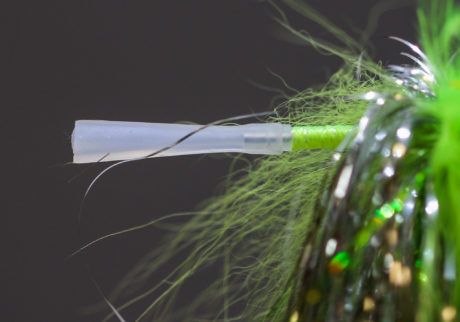
Step 1. Start your thread and wrap it to the back of the tube. Tie in the tip of your flat braid.
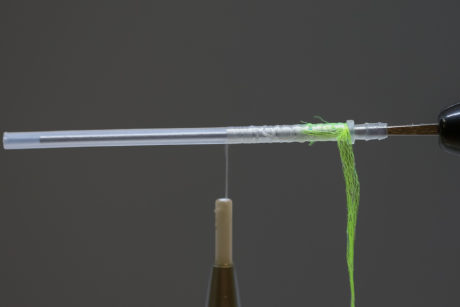
Step 2. Wrap your flat braid forward, I typically make the body 1 to 1-1/2” long.
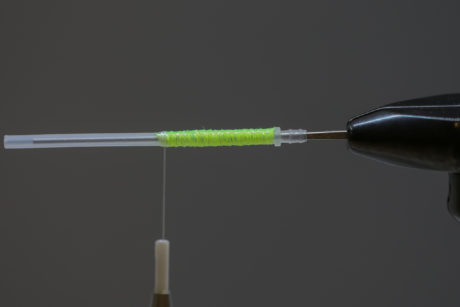
Step 3. Create a dubbing loop. Using a small clump of fox, brush the under fur out and place in your dubbing loop and spin.
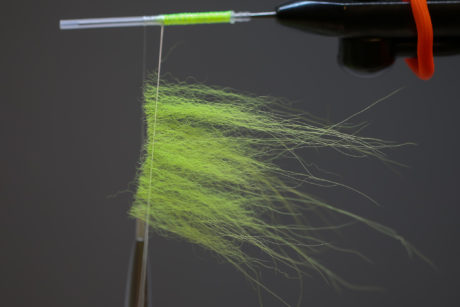
Step 4. Wrap your fox forward, sweeping the fur back with each wrap. You just want to have 2 to 3 turns.
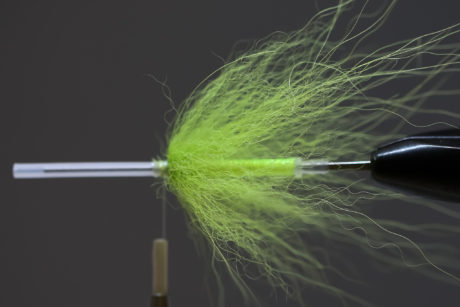
Step 5. Rotate your fly to tie on the bottom side. Using a decent clump of flash, keeping in mind you are going to tie it in at the middle (I cut my flash full length), tie it down in the middle with a couple tight turns of thread.
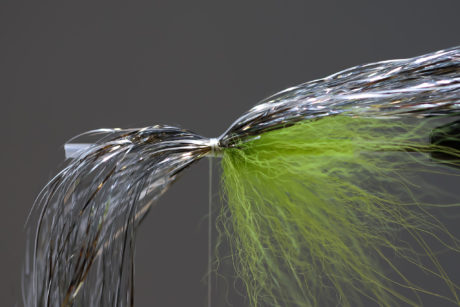
Step 6. Fold your flash over, using your fingers to spread the flash on to both sides, filling in the complete bottom side, and tie down.
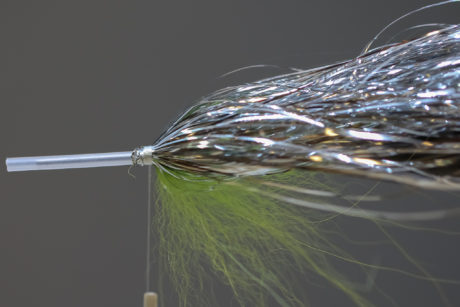
Step 7. Rotate the fly back over to the top side. Using another clump of flash, repeat step 5.
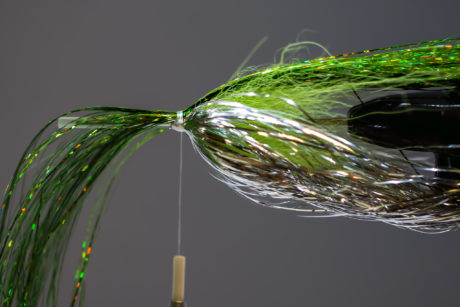
Step 8. Repeat step 6 by folding over your flash and tying down.
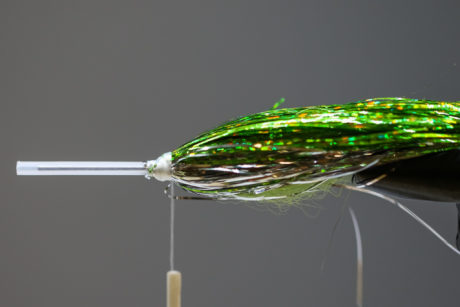
Step 9. Create another dubbing loop. Using one side of a marabou plume, cut from stem and place the loop and spin.
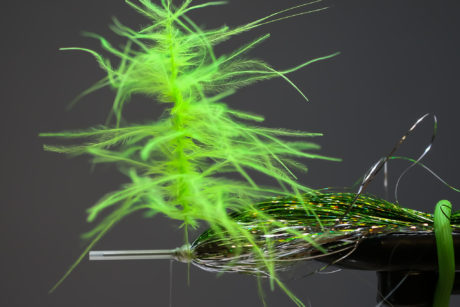
Step 10. Wrap your marabou forward, sweeping the feather back with each turn. Tie off and whip finish.
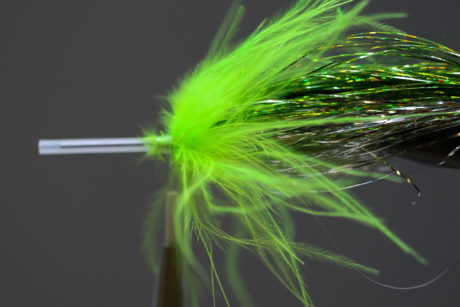
Step 11. Slide your bead head on to the tube and seat over your whip finish. Cut tube appx 1/8” and melt back.
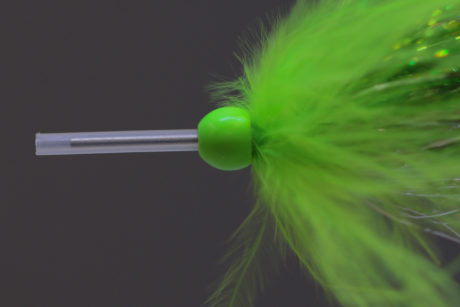
Step 12. Install your junction tube. Cut your flash length according to the hook you are going to use.
Finished Fly.
Good looking fly