It’s springtime in Alaska. The snow is melting, the days are longer, and hopefully, you’ve already replenished your windshield washer fluid. Sping also means, the streams are flowing and spring fishing will soon be upon us. Spring fishing is good for a lot of reasons but the best reason is…it’s spring and your fishing. We can’t wait to hit the river.
Alaska is known for big predatory rainbows that live off of a high protein diet; mice, flesh, and eggs. That being said, in spring, like in many other places, Alaska has an abundance of aquatic insects and are the prime targets for Rainbow trout. Topwater or submerged, trout are keen on the buffet of bugs present, especially during the early season. Let’s be honest, fly fishing for rainbow trout with a tiny bug is super fun. The Jigged Frenchie Hot Spot is a great nymph pattern especially for early season bug cycle fly fishing and a must-have in your fly box.
Tying instruction, and photos by Mike Brown. Mike Brown is the owner of Mossy’s Fly Shop in Anchorage, Alaska. A lifelong Alaskan with a passion for family, fly fishing, and tying.
Material List:
- Hook: Firehole 516 Sz 14 or 12
- Thread: Veevus 6/0 Red
- Beadhead: 1/8” (3.3mm) Slotted Tungsten Bead
- Tail: Pheasant Tail
- Wire: Small Copper
- Body: Pheasant Tail
- Thorax: UV Ice Dub Shell Pink
- Hot Spot: Loon UV Fly Finish Hot Pink
Step 1. Slide your tungsten bead on to the hook and place up against the eye.
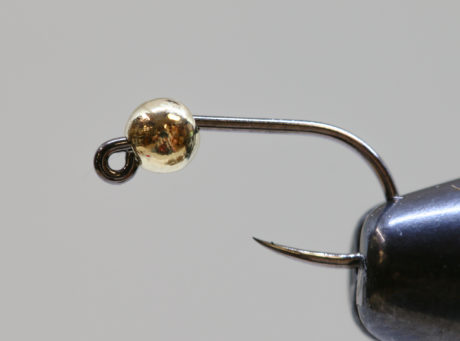
Step 2. Using your lead wire, make 7 to 8 wraps, trim off and push up into the beadhead, forcing the beadhead to seat against the eye of the hook.
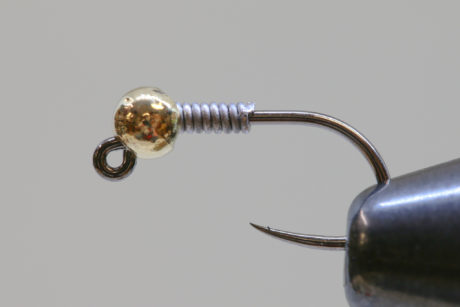
Step 3. Start your thread behind the lead wire, build up to keep the lead from being able to slide back and them cover the lead wire, then build a slight tapper off of the lead wire and wrap back to appx a hook eye width past the hook point.
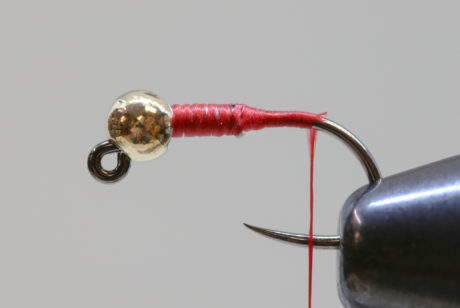
Step 4. Take 5 to 6 strands of your pheasant tail and tie in, leave appx ¼ to 3/8 of an inch for your tail.
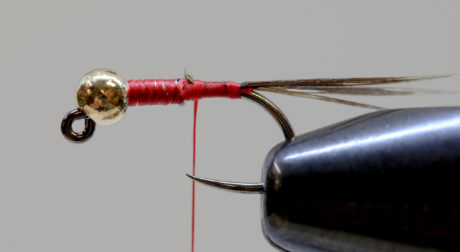
Step 5. Tie in your copper wire.
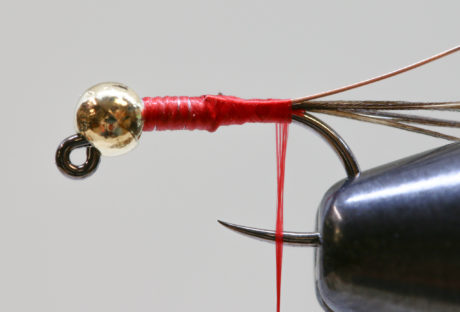
Step 6. Take 4-5 strands of your pheasant tail and tie in. I tie these in all the way to the back of the beadhead to help level the body out some.
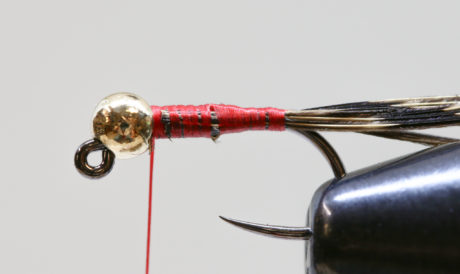
Step 7. Wrap your pheasant tails for the body all the way up to the beadhead, tie off and trim.
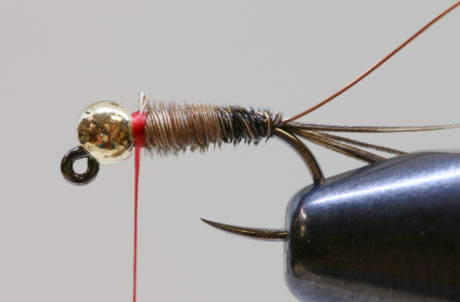
Step 8. Using even spacing, wrap your copper wire forward to the beadhead. Tie off and trim.
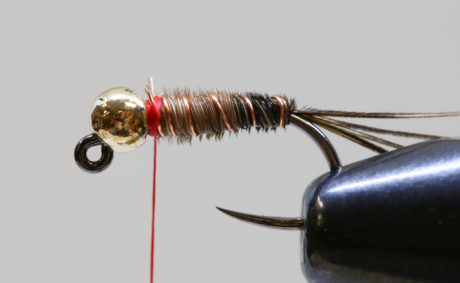
Step 9. Start your dubbing on your thread. Remember with dubbing less is more, you can always add.
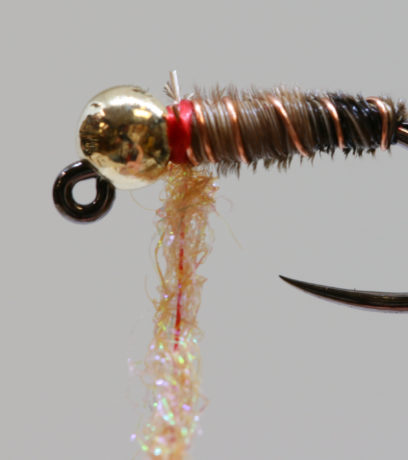
Step 10. Wrap a nice even thorax, then build a small thread head against the beadhead, tie off and whip finish.
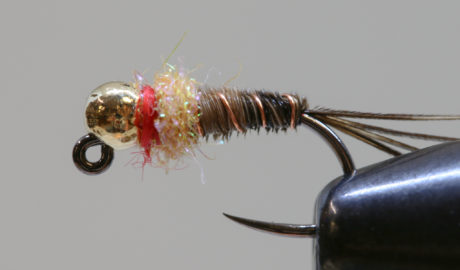
Step 11. Rotate the fly in the vise over so that the jigged hook eye is up. Using your UV-colored fly finish, put a small amount on top of your thorax, you want to make a small ball. Cure.
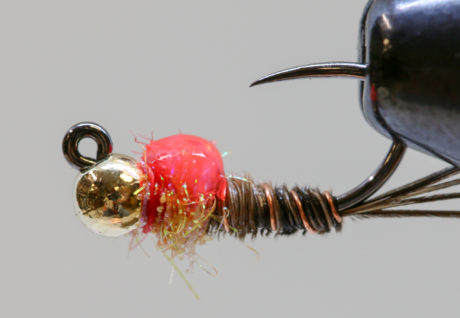
Finished Fly
More Posts on Fly Tying:
Leave a Reply